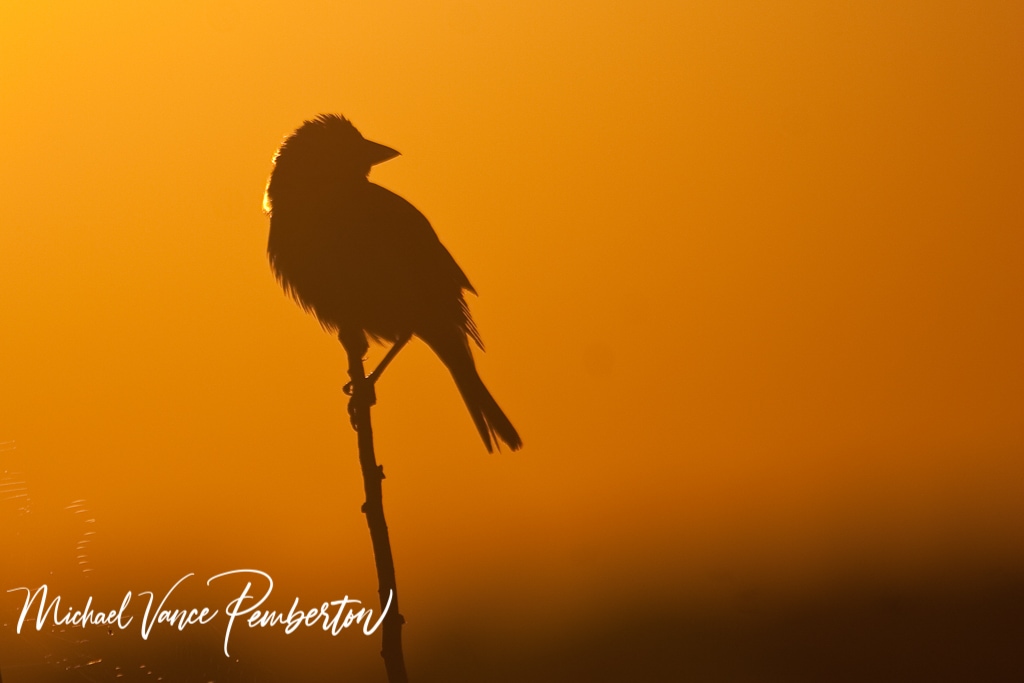
Silhouettes are some of my favorite types of photographs to take. They make me feel warm and fuzzy inside when I take them. I think there are some of the most exciting types of pictures that you can take. Whether it’s a picture of a building or an animal or a person, there’s just something appealing about a silhouette image.
There are a lot of things to think about photographing a silhouette. What’s going to be your subject for your silhouette. Should you use flash or not? When’s the best time to photograph silhouettes? Is framing your subject and composition important? What camera mode should you use? What metering mode should you use? To get those answers and more keep reading.

- Choose your subject carefully. You can use pretty much anything when it comes to picking an item for a silhouette image. Look for something that can draw your viewer into your image, whether it’s an impressive building, boat, something that stands out. I have found what works best is something that stands alone.
- Don’t use flash; this will ruin your silhouette. You want no light on the front of your subject. That is, the key to a great silhouette is to have the sun behind your subject.
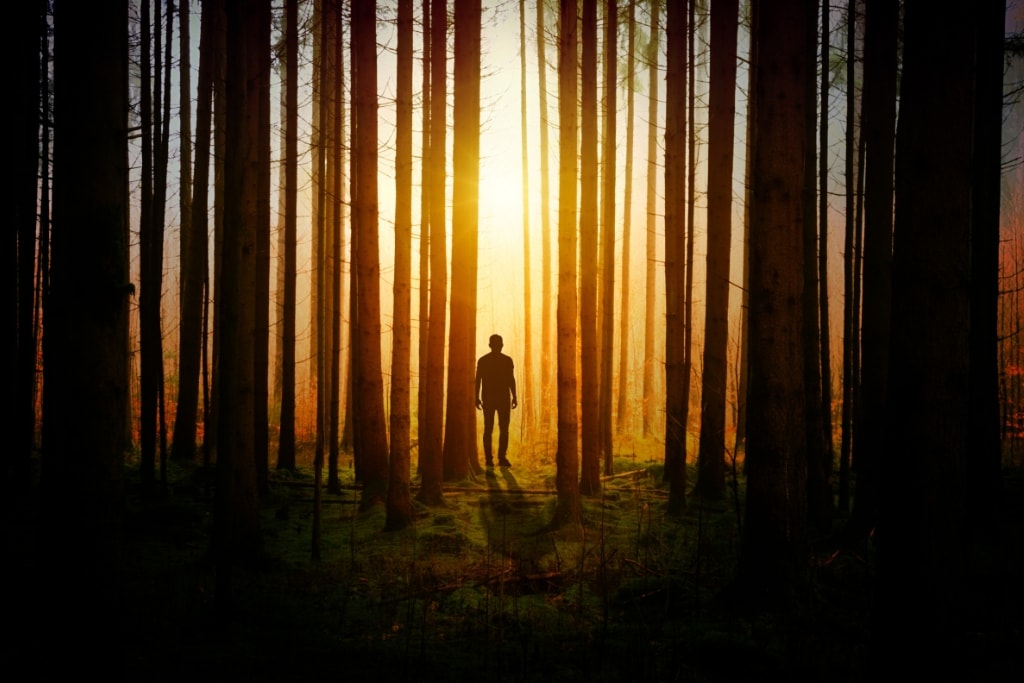
- Photograph during the right light will ensure you get a great silhouette. That means you want to go out during sunset or sunrise so that the sun is in the back of your subject. You want to be facing the sun and not have it behind you. You can also use artificial lights to do silhouettes.

- Frame your subject so that the light is directly behind your subject. Depending on the sun’s position, you can lay down and shoot up, which I found very helpful for silhouettes. Make sure your source of light is directly behind your subject.
- No distractions in your silhouette are essential to a good image. You never want to have something taken away from your image. So make sure when you’re looking through your viewfinder or your LCD screen to look around and make sure they’re our no distractions.
- Don’t use auto mode because most of the time, it will trigger your flash and run your silhouette image.
- Use manual mode is the best choice to use. There is a quick hack for the people who are not sure how to use manual mode. Go back to auto and see the settings that it says to use and start from there. If your subject is too light, stop down the shutter speed a stop or two and see if that works.
- Focusing is essential to an excellent silhouette image. You want your subject sharp in your image. This can get a little tricky when facing the sun. I would suggest using manual focus; this works best when facing a bright light. Most of the time, in automatic focus, the cameras will struggle back and forth to find the subject because of the bright light from the sun. Always be careful when looking through your viewfinder when facing the sun. If you’re not too careful, you’ll be seeing stars for a while.
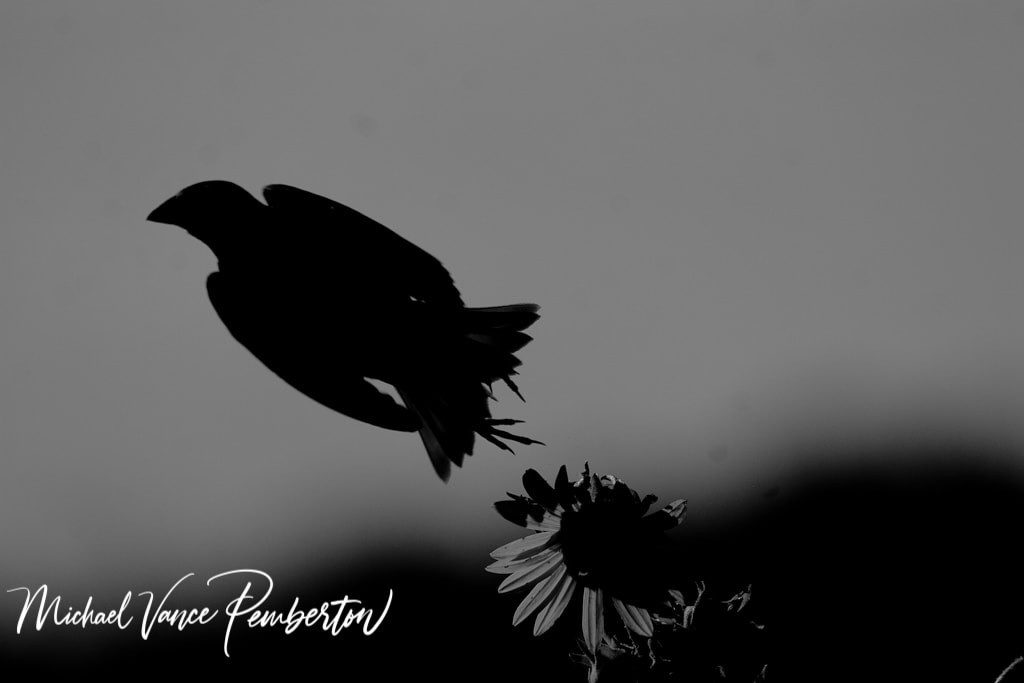
- Capture movement, if possible. Most of the time, your shutter speed will be fast, so you’ll be able to stop the action. Having movement in your silhouette image adds a lot of drama and a sense of awe. Make sure your camera is in burst mode when trying to stop the action. That means you’ll be taking more frames per second.
- Look for an exciting sky; clouds add so much to a silhouette image. You can still get silhouettes with a clear sky, but clouds can add color, especially a variety of colors in the sky, adds to your silhouette. It draws in the viewer when you have that sky that’s full of color.
- Low angle on your subject, if possible. If you can get down on the ground and look up towards your subject, make sure the sun is directly behind them can add to your image.
- Metering mode is essential when creating a silhouette image. I have found the best mods for silhouettes are spot or center meted modes. By selecting one of these two modes, you’re telling your digital camera which individual metering point you wanted to use to set the exposure. Here is a link to more information on that topic if you’re not sure about metering modes.
- Use exposure compensation will help you if your subject is not dark enough. Make sure and use the exposure compensation feature on your digital camera. It gives you the ability to tell your digital camera to allow more light and or less onto your sensor.
- Bracketing your image is also helpful. Your camera takes a series of three photos. You meter for your first shot. The next shot is one stopover what you need for, and the other shot is one stop under what you need. What that means is your first shot is correctly exposed your second shot is underexposed and a shot slightly overexposed. Then you stitch all three together in your editing software, and that’s it, it’s that simple.
- Improving them in post-processing can help your image stand out. Most of the time, when editing your pictures, you can increase the contrast to make the silhouette stand out more. I have found using the burn tool in photoshop to darken the subject can help it stand out. You can also adjust the shadows and highlights.
Conclusion.
I hope this information was helpful in your next opportunity to create a silhouette image. Don’t forget to keep practicing. Sometimes you just got to keep working at it over and over until you get it. Different sources of light can be helpful. So go out and take some great pictures.


Recent Posts
Photography isn't merely about capturing a scene; it's about conveying emotions, telling stories, and evoking responses. At its core lies a profound interaction between the viewer's psyche and the...
In a world of shadows, unaware they roam,People traversing, their stories unknown.Life's struggles are universal, silent cries,Yet some remain oblivious, under clear skies. In the tapestry of...